But, my grandmother really loves pictures. I've given her paintings and professional photographs and frames in the past, which was great, but how could I possibly top a homemade painting? Then the answer came: coasters with pictures of my aunt and uncles on them! It's perfect! It's original, thoughtful, and absolutely adorable.
Want to know how I made them? It's not as hard as you think!

First, you will need: four tiles (you can get individual tiles at home improvement stores), Mod Podge, waterproof polyurethane sealant (available at craft stores in the paint section..yeah, it took me forever to find it), little self-stick felt circles (in the framing section, of all places), photocopied pictures, and paper of some kind to decorate the tile with.

And there's what the sealant looks like. It looks expensive, but that little bottle only cost $2! And it's lasted through 2 of these projects so far, and I think I still have over half of it left. Now what shall I use the rest of it on? Hmm...
So, it's super important that you use only smooth, thin paper for the decoration. I once tried to Mod Podge a tree onto a canvas using this really cool textured brown paper for the trunk, and not only did it refuse to stick, but it ruined my entire canvas! Lesson learned. Or was it?
By the way, it really helps if you turn over the paper, trace the tile, and then cut it out. Trying to measure and draw a straight line for the sake of pride just isn't worth it.

Now apply a base coat of Mod Podge to the clean tile. This gives the second layer something better to stick to.

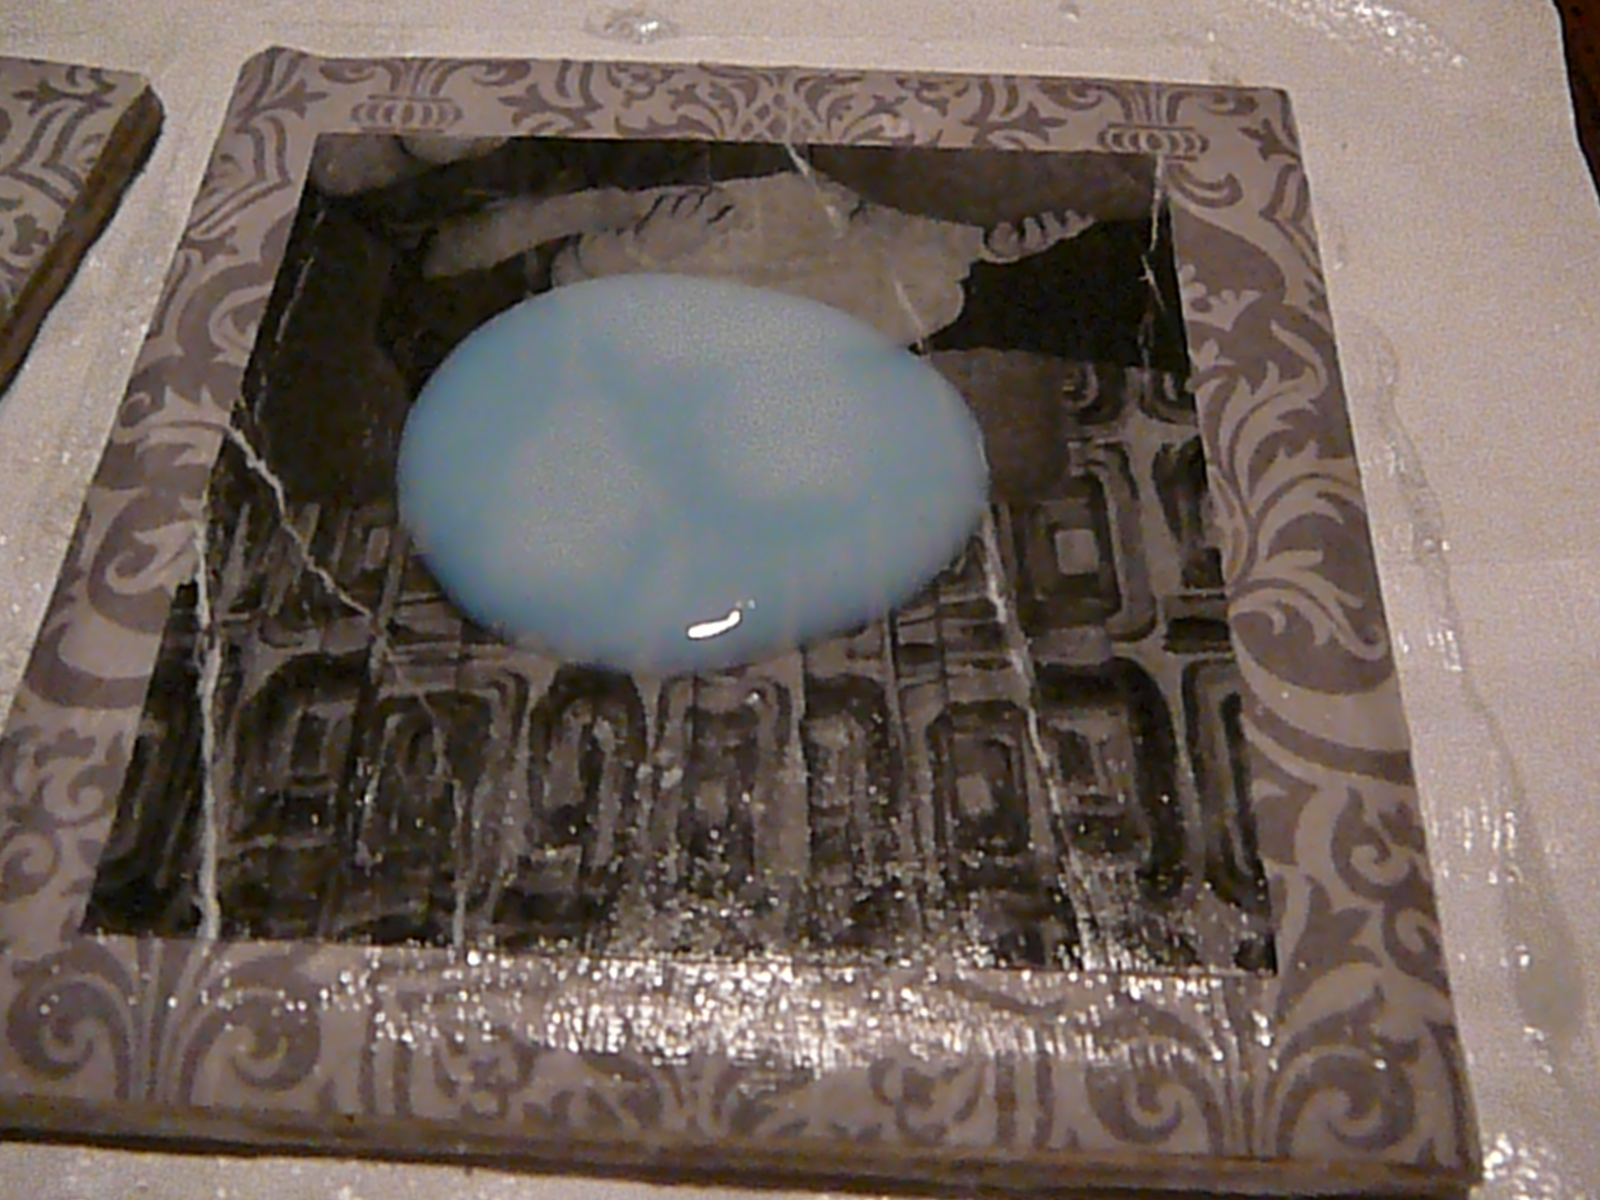
Apply a second coat, and while it is still wet, press a cut out piece of scrapbook paper down until the edges don't stick up anymore. Now, I decided to make this one go all the way to the edge, because the sand color clashed with the grey. The last one I did left a small border around it, and it still looked cute. Hooray for artistic license!
In hindsight, I wish I had gotten a thinner piece of scrapbook paper. This was one of those double-sided ones from Michael's, so it was a little thicker than usual. And boy, was that paper persnickety! Those edges just did not want to stay down. I had to keep running the handle of the foam brushes along them because they kept popping up. Seriously, you would think I had learned my lesson about fancy scrapbook paper from the tree debacle.


Wondering who that little girl is? Yep, that is my aunt. And she hasn't changed a bit.
Once that's all dry, apply two coats of the polyurethane sealant. And make sure you open a window, because that stuff smells really bad. Ugh, my whole living room smelled like...well...some really strong chemical! So glad I had already eaten dinner, or I would have lost my appetite! Which, of course, would have been tragic.

So, I'm really pleased with how these little guys turned out! They're really cute and sweet and just simply wonderful! I really hope my grandmother likes them. I made some for my mom, too, but the pictures from that aren't posted because 1) she already knows she's getting coasters, and 2) she reads my blog sometimes and I don't want her to see them before Christmas.
Super cute!
ReplyDelete